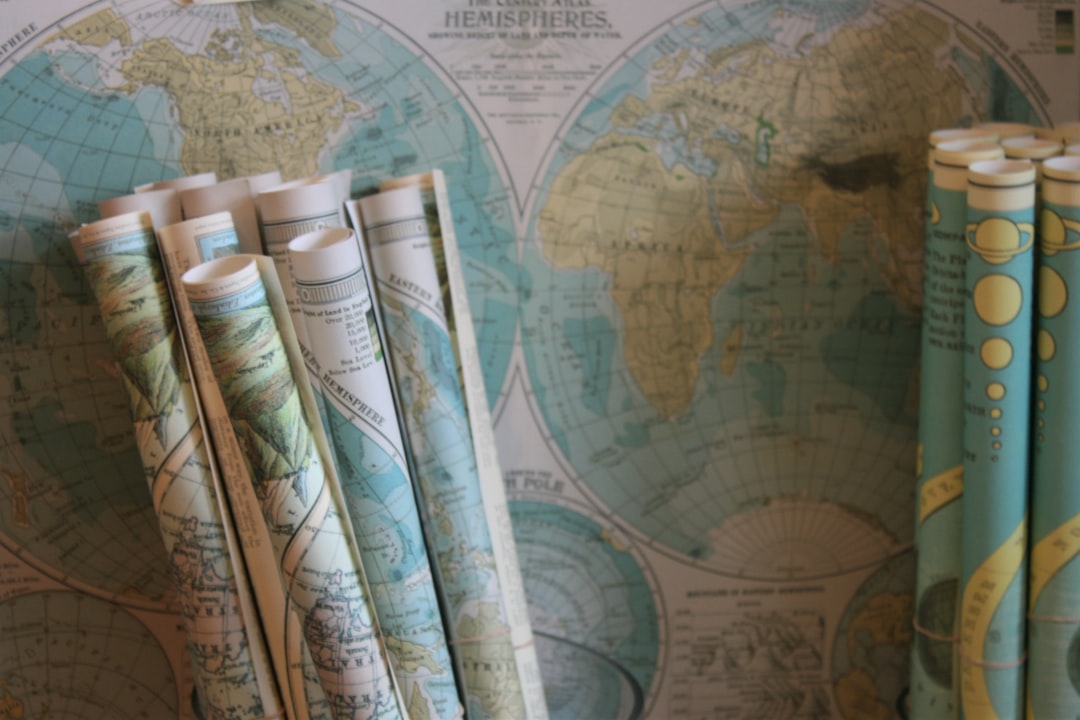
Since the dawn of mankind, we have been fascinated with the stars. Tiny pinpricks of light in the dark sky to guide your journey. Mysterious distant beings looking down on us. Or to quote a great philosopher “Fireflies that got stuck onto that big blue-ish black thing” (Timone, from The Lion King). The first civilizations began mapping the skies using ancient and rudimentary technologies.
*If you haven’t already, don’t miss 10 Ancient Technologies You Wouln't Believe.
How did they do it?
Agriculture was both guided by the stars, and used to map the night sky. Ancient peoples knew that when Orion became clearer in the sky, winter was around the corner. The Summer Triangle as the name suggests, brought the advent of warmer weather and budding flowers. The need to feed our families through a bountiful harvest made understanding the night sky a matter of life and death.

Sailors used the constellations to map their journeys to distant lands. When their ships were heavy with goods, they used the stars to guide them home. The North Star (Polaris) allowed sea men to calculate their latitude. How do we find the North Star? This is easy! You just have to find the Ursa Minor Constellation. If you need a hand, check out our series on Learning the Stars.
Today, astronomers from all around the world share findings of their research through the common language of the constellations. Each star in a constellation is given a letter. The Greek alphabet is used as a scale of brightness. Hence “alpha” is the brightest.

Various cultures over millennia have discovered their own versions of the constellations. The same stars would form different shapes depending on what far-flung corner of the earth from which they were stargazing.
Only in 1922, did the International Astronomical Union agree on a single set of official constellations: 88 constellations, using 42 animals, 29 inanimate objects and 17 humans or mythological characters.
But How Can I Read The Stars?

This is not particularly difficult either. To learn reading the stars, you just need some confidence, and a clear sky or the star map we just created.
Just like most of the things these days, there are also certain apps for reading the stars. But nothing goes like being able to read them by yourself, with your naked eyes without the help of anyone else.
While you will need an astronomy degree to learn about all the starts in the universe, you can easily learn about some famous and easy to recognize star combinations to show off your astronomy skills.
Big Dipper

Big Dipper is usually the first combination that beginners start their star reading journey from. You can see this combination of three-starred arch and a shallow pan high up in the North.
North

From the last star that makes the pan of the Big Dipper, follow the stars and go up to the first bright star. This bright start is called Polaris. It is known for its brightness and a prominent position in the northern sky.
The reason why Polaris is one of the most important stars for navigation is that if you are looking at it in the northern hemisphere, you are always faced north.
Arcturus

Arcturus is one of the brightest stars in the whole sky. It can be easily found if you follow the Big Dipper handle arc away from the pan and move in an arc like path. This star is also very important in navigation, as it helped Polynesians navigate the Pacific Ocean and reach Hawaii.
Spica

Spica can also be found by following the same curve from the Big Dipper that we took to reach the Arcturus star. You can keep following the same curve until you reach a bright star near the southwest horizon. This is the Spica star. This is the star that is usually mistaken for UFO, and there is a reason for that.
Actually, Spica is a combination of two closely located stars. One of them is blue and the other one is red. They are placed so close to each other that they are indistinguishable when seen with naked eye from the earth. Spica blinks in Blue and Red colors.
Leo

Leo is a star combination in the sky that is in the shape of a lion. The easiest way to find Leo in the western sky is popping a hole in the pan of Big Dipper. The water will fall on the back of the Lion. You can also find Leo by moving away from the bottom of the pan and searching for a backward question mark “?”, this should be the head and mane of the Lion that we get by joining the stars in the Leo combination.
Summer Triangle

This combination does not include Big Dipper as a reference point. Leave the Dipper and turn around towards the southern sky. You should be able to easily spot the triangle. There are basically three bright stars placed far from each other. They make a big triangle.
That is how you can make a star map, and also read different star combinations on the sky as well.
More on ancient technologies anon, but for now here is a more up-to-date way to map the stars. A reminder of how you can even do it yourself!
All you need is the right materials, and a printing shop. Of course, if you want guaranteed high quality we can do it for you in moments and have a framed map to your unique specifications delivered right to your doorstep! However, the following is for the DIY enthusiasts who need to learn the art of star mapping.
Here are some simple to follow steps that you can use to make a perfect star map for yourself, or for a loved one as a gift.
Learn About The Coordinates First

First if all, you will need to learn more about the coordinates (Latitude and Longitude) of the place you live in. After this, you can go to latlong.net and put the city name and postal code in the required place. You should end up with an accurate result.
To find the coordinates of a place, you do not have to be actually there. All you need is the name and postal code of that place, and you are good to go.
After getting the Longitude and Latitude, use any GPS service to find out the exact GPS coordinates of that place as well.
Do Some Astronomy
In the second step, you will need to play around with some websites. You can use free tools like Your Sky to do this for absolutely free.
Your Sky site uses the Universal Time (UTC), so, you will need to figure out the time zones. For this, use a site named Time.is, it will help you figure out the time difference between your preferred location from step 1 and the UTC. You will be using their time zone converter tool in this step.
Just type the location and enter the current time in that location, after this, select UTC from the other locations menu. Hit compare to get the needed result.
Now you have the time difference, and you can use it to find out the ideal Universal Time which you need the personalized star map of. Input the desired UTC into the date and time section of the Your Sky site.
The coordinates we found in the step one will also need to be put into the “Observing Site” section of Your Sky. Avoid typing long coordinates manually and copy paste them to avoid mistakes. Remember, North and South for Latitude and East and West for Longitude.
Personalize The Looks

While you can on the Your Sky site, see under the date and time section and select any other visual enhancements and additional elements that you might like. You can also select the needed image size (resolution) from here. Choose a high number of pixels per inch to get a decent looking and detailed image. For reference, an A4 sized page is 1200 pixels wide, and the image should be the same number of pixels wide as well.
The site is so focused on details that you can also choose white on black or vice versa. After selecting these preferences, you should be able to preview your night sky poster. Before you move any further, make sure to double check everything and confirm if that is the map you needed.After everything is done, you can right click on the map and save it on your desktop.
Now Comes The Printing Part
The printing part should not be that complex. If you are using your own printer to print the star map, you should insert it onto a text editing app before printing. You can increase the size of the image in these apps manually, and also decrease the custom margins to zero to use the available space in the best possible way. Once you are satisfied with the settings and size, you can print the map onto a piece of paper.
While your own printing machine will definitely do the job, your best bet definitely is heading to a local printing shop. That will give you the opportunity of getting a high quality printing paper, a better quality print, and a larger-than-average size of the image that the standard printers support. You can also go larger than the A4 size, as it solely depends on the size of the printer machine. Additionally, material of the paper on which the star map will be printed can also be customized.
Bigger and better options will definitely cost you more, but every penny you spend to get a high quality star map will be worth the extra money.
Post-Printing Customization

Once the map is fully printed, you can play around with it and use a bit of creativity to add a customized look to it. You can cut the map from the rest of the paper around it and paste it onto a colorful card.
The extra space on card can be used to add text, glitter and literally any other decorative item that you might have laying around. Use photos, newspaper cutouts, stickers and anything else that your creativity allows.
Get It Framed

Framing is comparatively an expensive-ish part of this project. Size of the frame depends on the star map’s size, but when it comes to its design, you have limitless options. Once the framing is done, you just need to find a suitable place to hang it, if you have not made it as a gift for someone.
That is it, you just have created your own star map or night sky poster!